
Painting Weather: Scotland’s Ever-Changing Skies
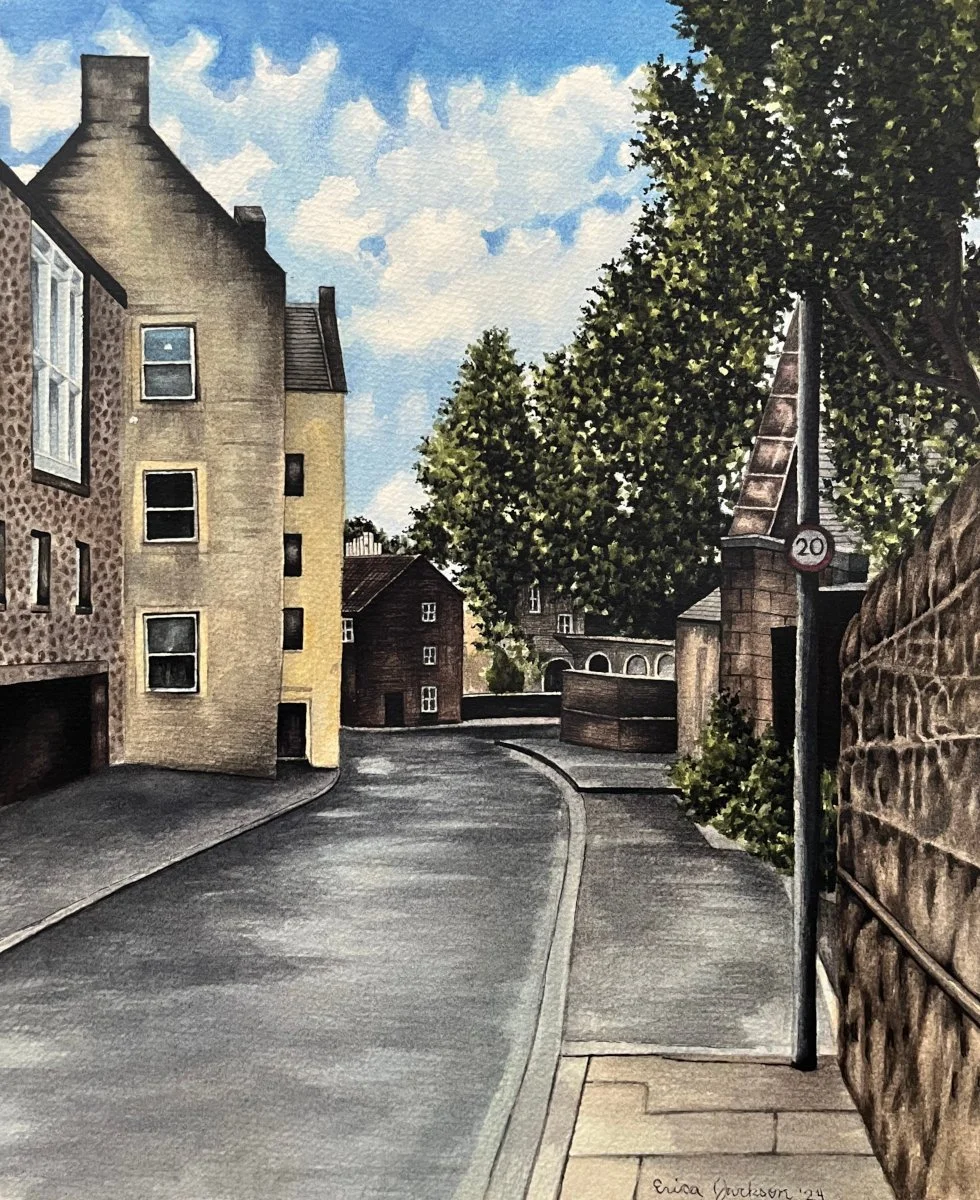
Weather can change a painting’s mood significantly. Whether the skies are clear and blue or have puffy white clouds floating peacefully over a bright blue sky, or if the clouds have grey visible, indicating an incoming or outgoing storm, or full cloud coverage, all these aspects change the colors of the landscape that is being depicted, and naturally all convey a different mood for the entire painting.
Why Certain Landscapes Stay With Us Forever
Whether you’re in your home town (or city) or traveling to somewhere new or where you’ve been before and loved, a particular landscape can cause an emotional reaction to seeing it, and you may remember it forever. I think there are many reasons for this, linking back to memory and nostalgia for that particular time and place. I grew up in Vermont and have a lot of experience with exploring natural habitats, from forests, fields, ponds, lakes, mountains, hills, and etc. The places that were special to me in my childhood will always have a place in my heart, and I’ll remember them fondly forever because I accumulated many happy memories there.
Why I Think Scotland Resonates With Collectors
In media, literature and art Scotland exudes a feeling of nostalgia, for times long past, wanderlust, the urge to travel and see all the sights for yourself, and solitude from the vast landscapes can give a sense that you’re just a small part in this world.
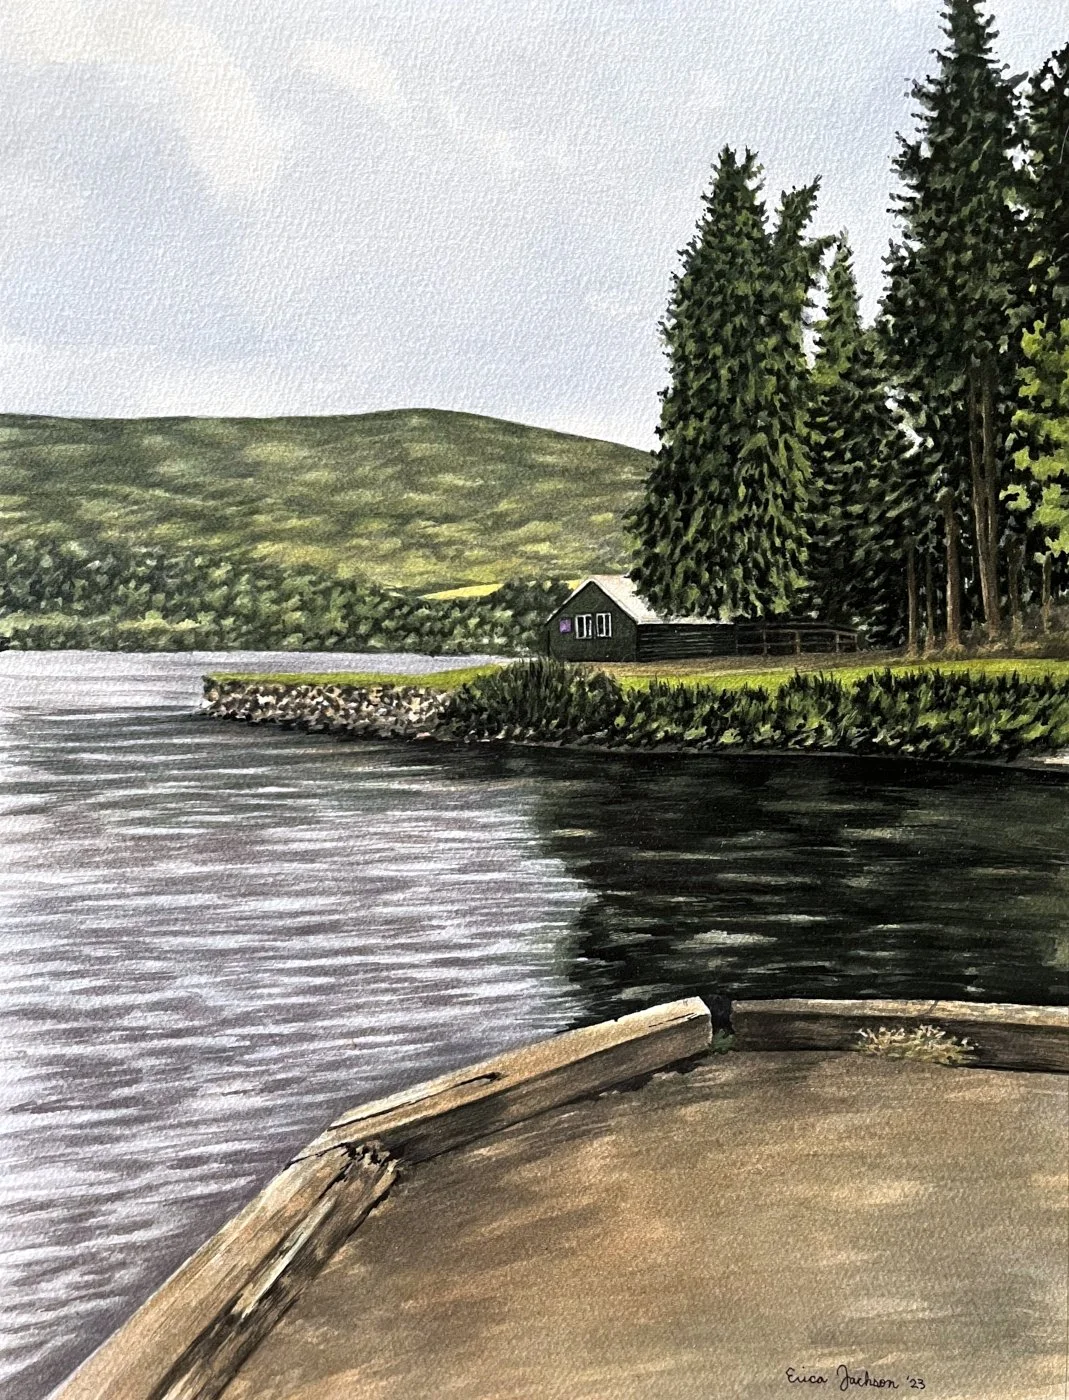
The Story Behind the Piece: A Walk in Glenfinnan
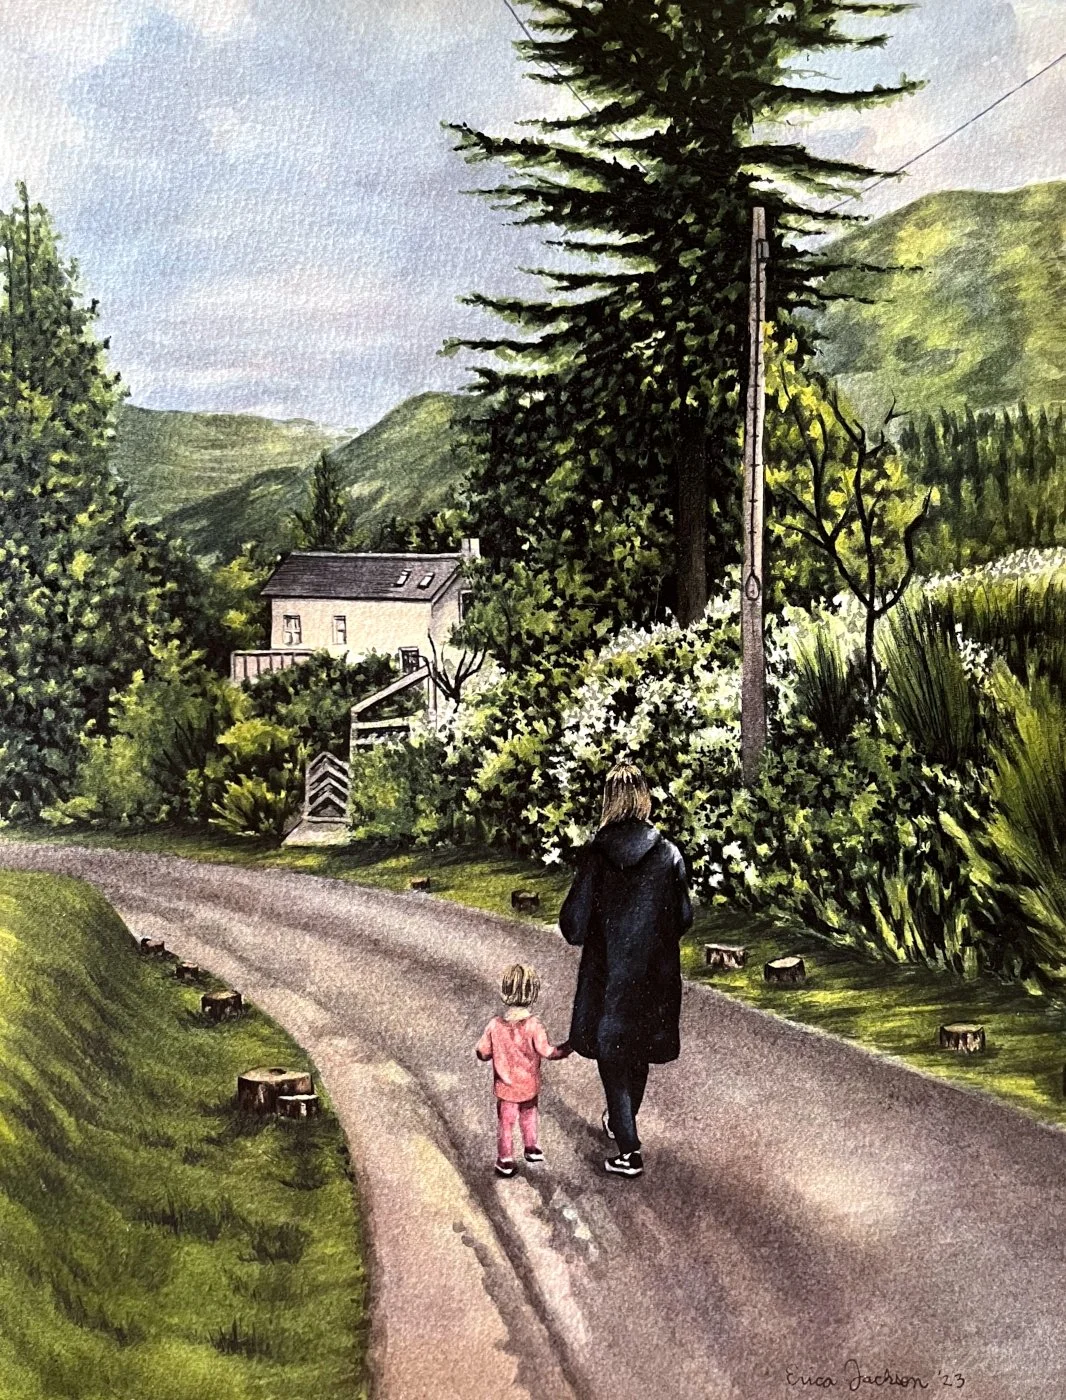
One part of a day trip we took through the Highlands near Inverness was a ride on the Jacobite Steam Train. About halfway through the trip we stopped at a station in Glenfinnan for a short break.
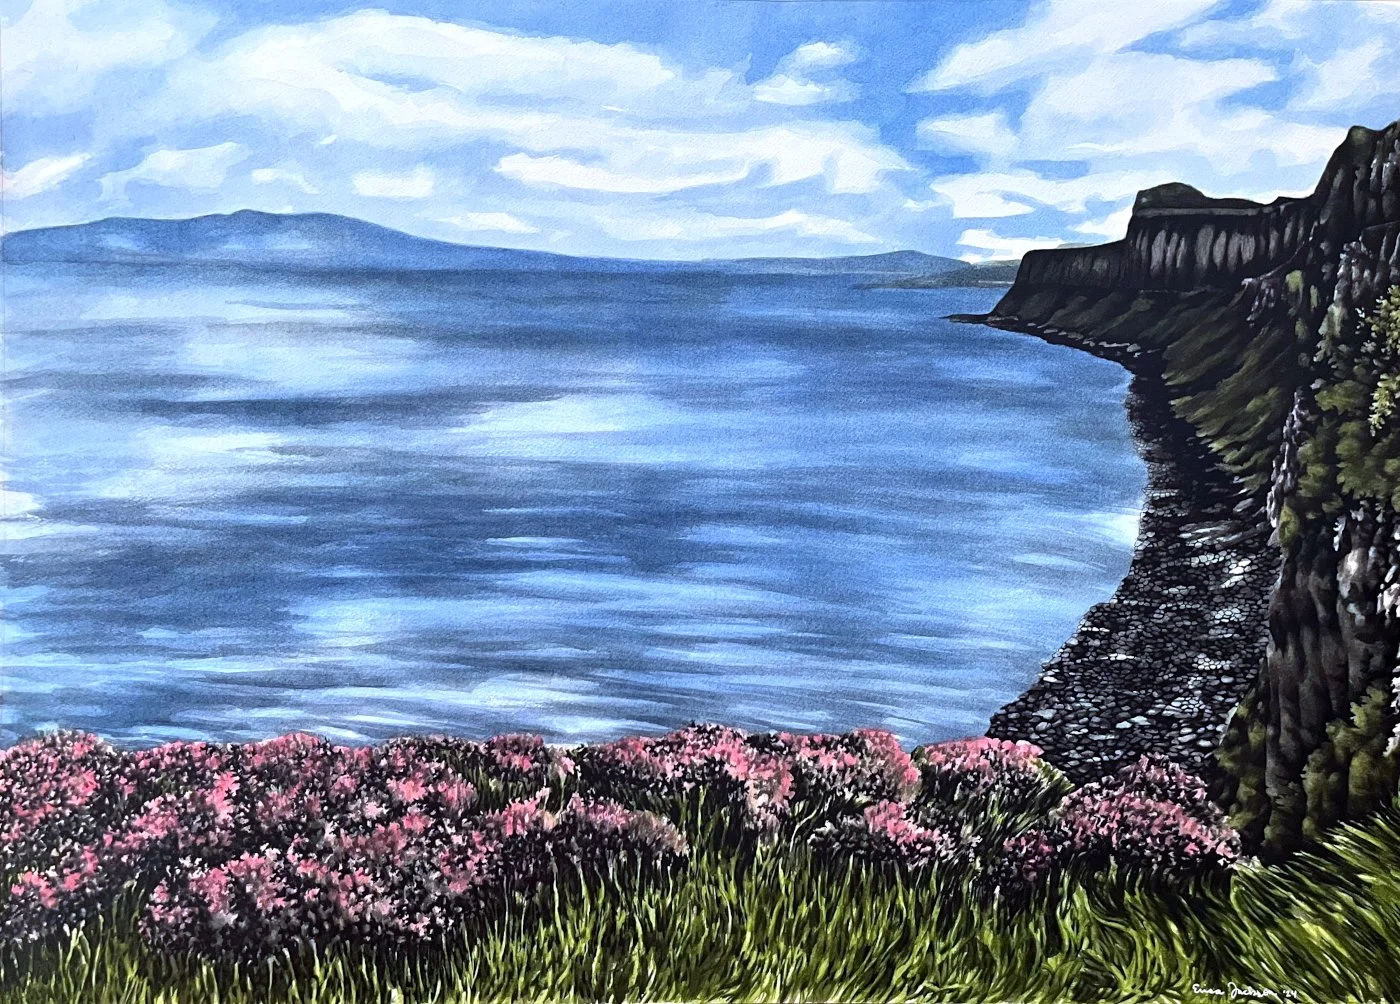
Why Scotland's Landscapes Seem Mythic: And How I explored That Magic in My Paintings
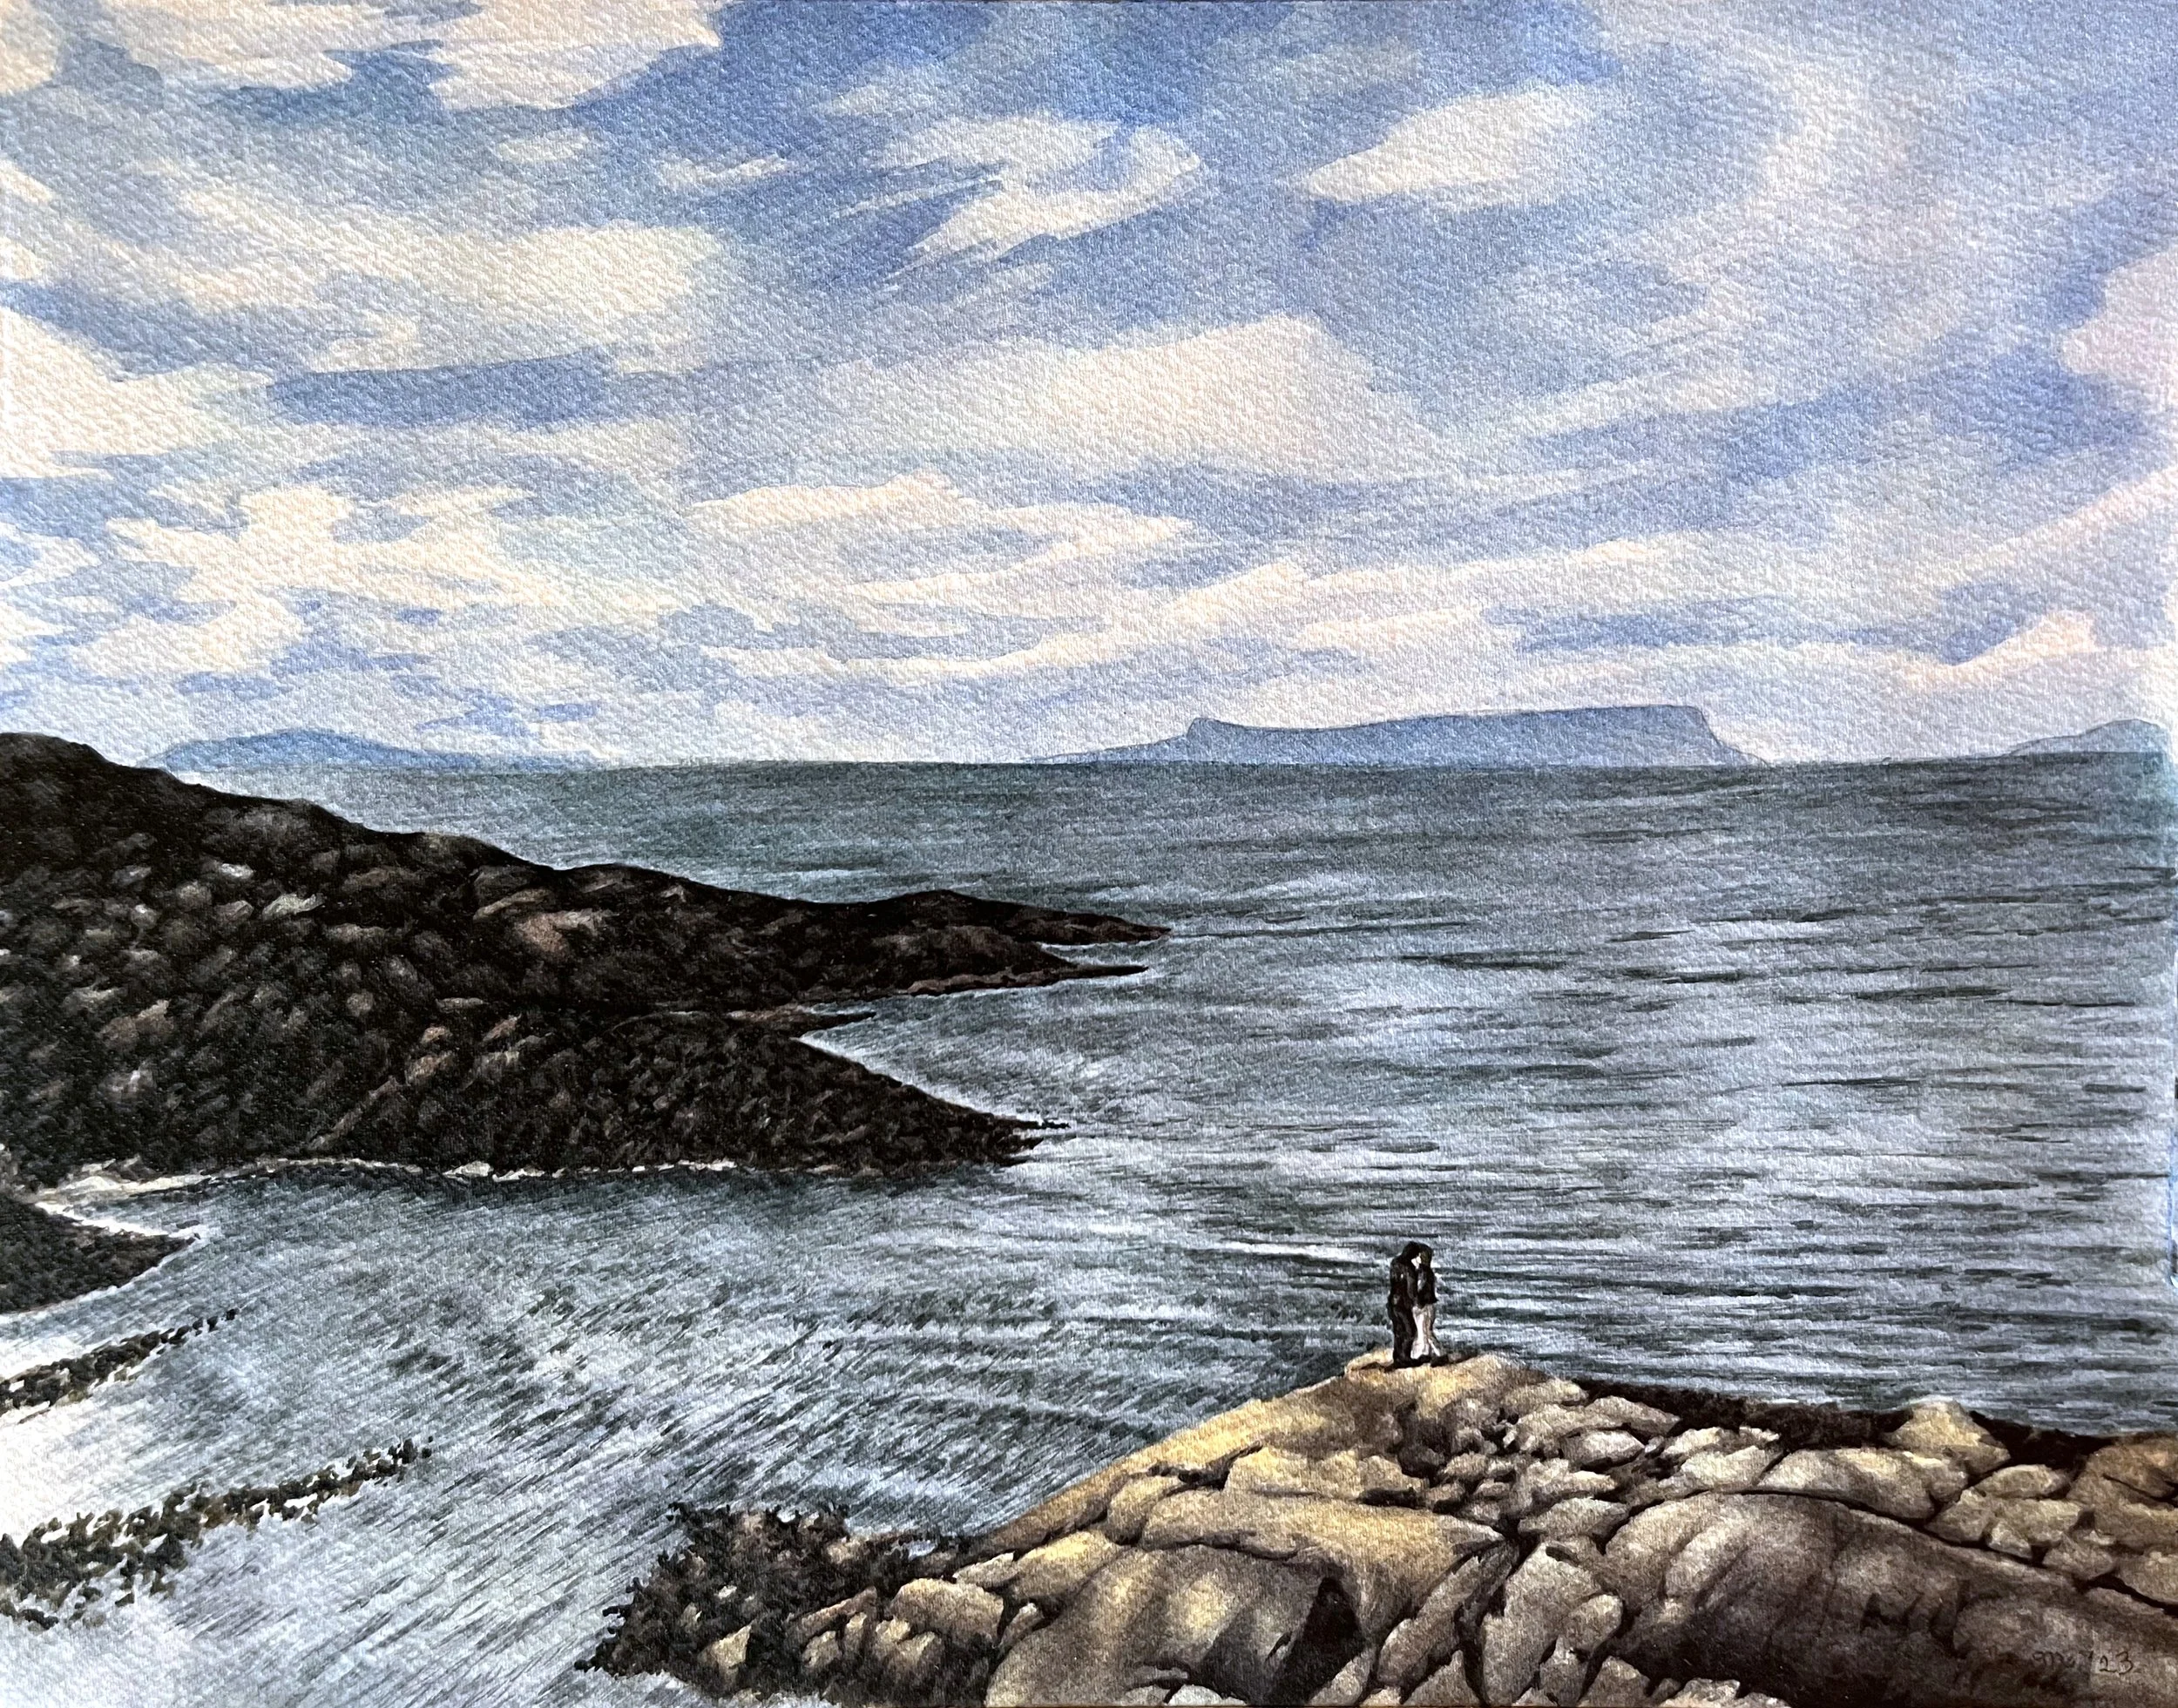
When I think of the day trips I made to the Isle of Sky to see the sights of the Scottish Highlands I think about classic British novels that spoke of the wonder of the moody highlands - the Heather lining the moors, the crashing waves in the cold Northern ocean, the towering cliffs look over vast land.
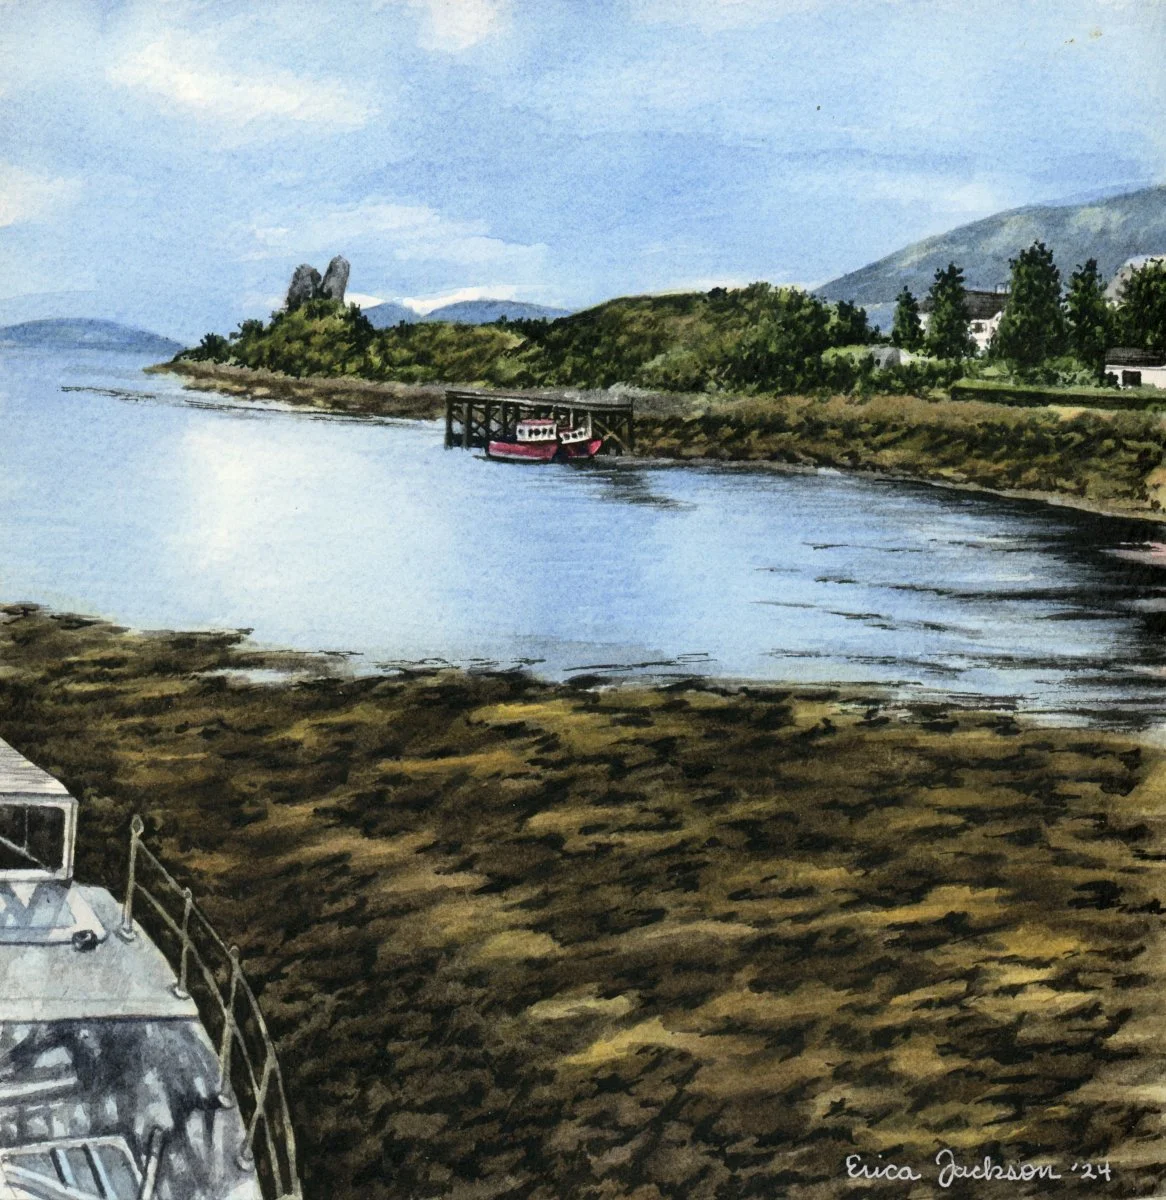
The Story Behind the Piece: Boats in the Bay at Low Tide
Towards the end of our 2nd day trip through the Highlands we stopped in a little town called Kyleakin Bay for a short break.
How Light is Explored in My Scotland Series
Growing up reading and watching novels and movies set in the UK I knew I would likely experience some overcast and moody days when I visited Scotland. I would say the weather during our trip was perfect. We got to see bright and sunny days as well as some cloudy days that accentuated the moodiness of the landscapes we saw.
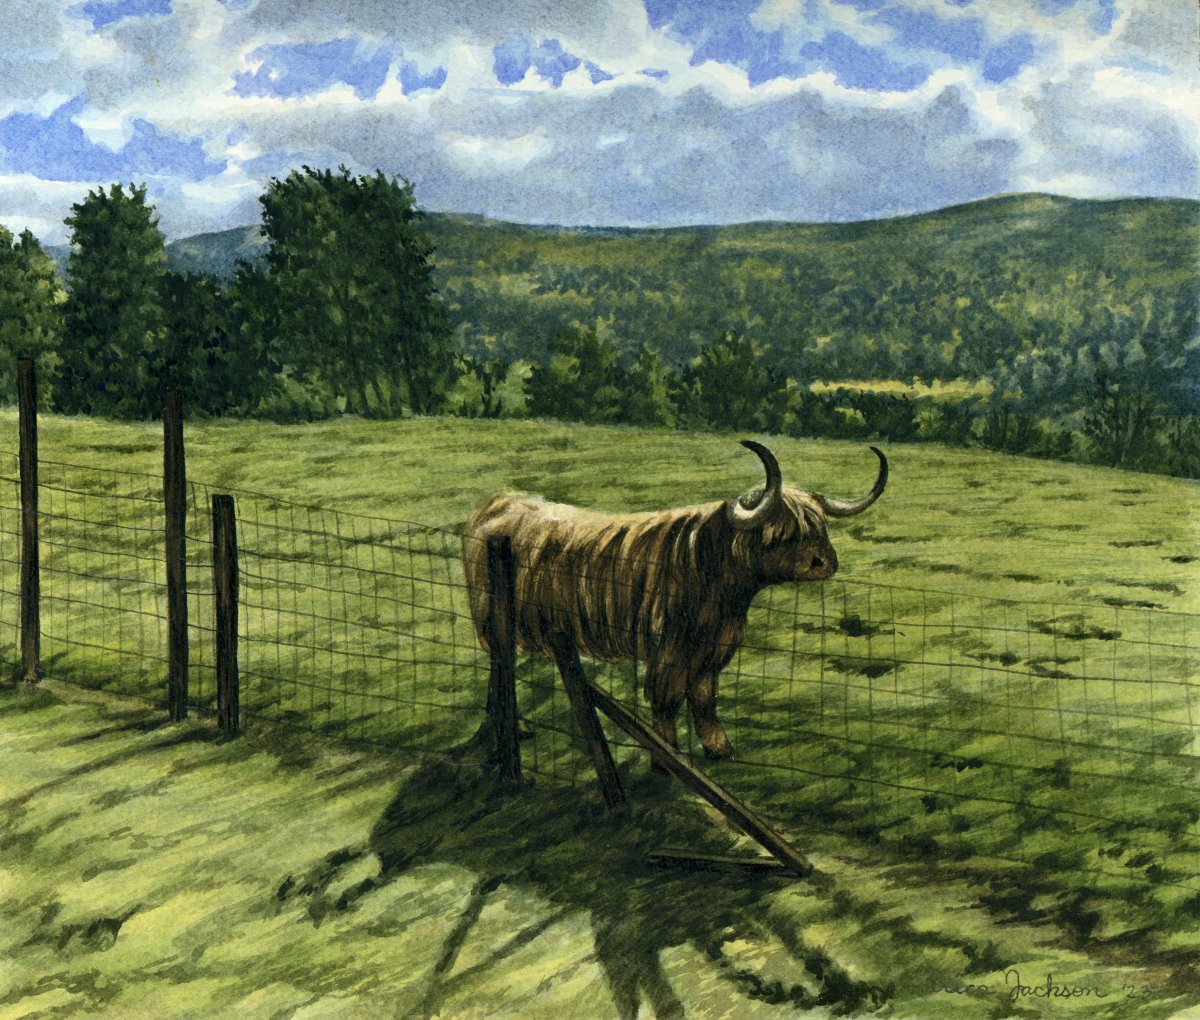
Painting the Highlands: Capturing the Wild Beauty of Scotland's Rugged Landscapes
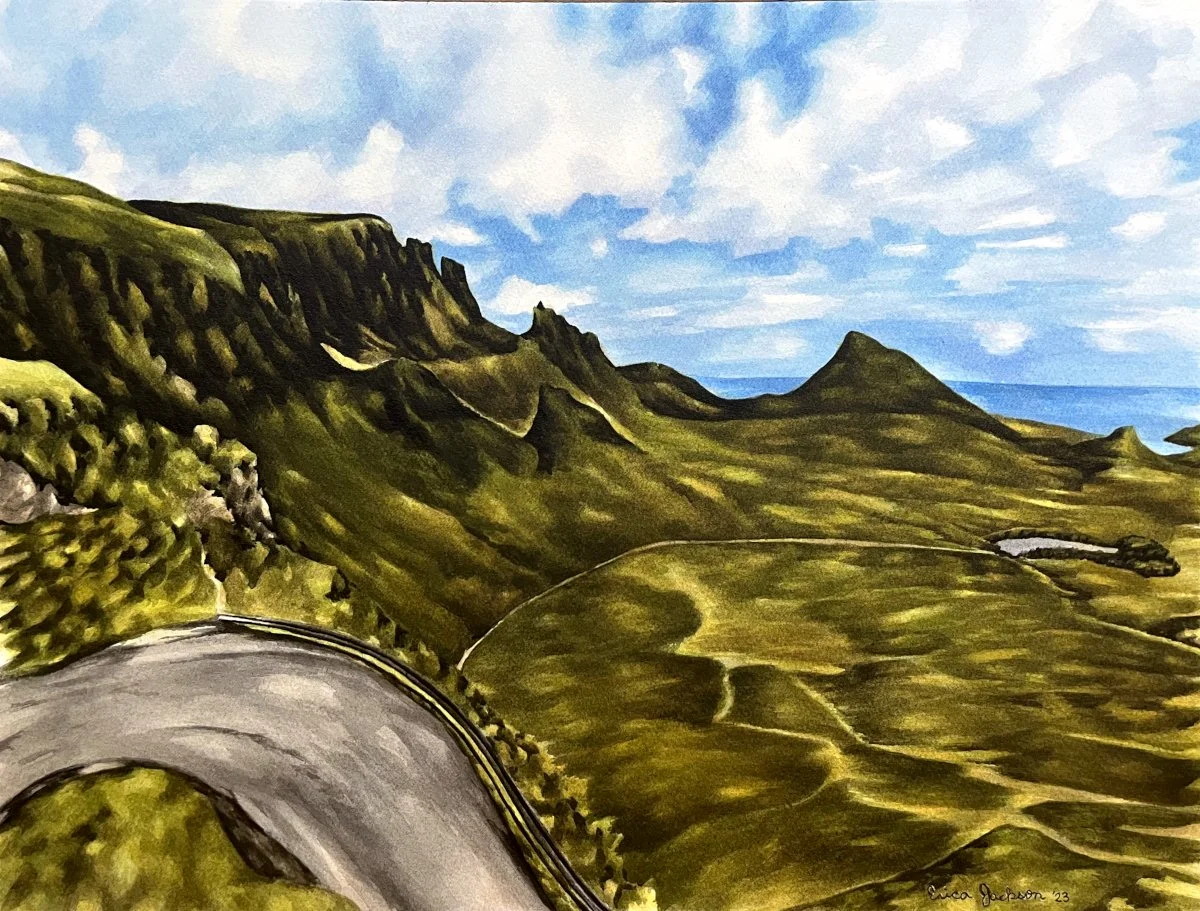
The Highlands in Scotland were a breathtaking experience. Admittedly we only got to spend a couple days exploring, but what we did see was very memorable and inspiring. The roads wound through passes that were lined with mountains, valleys, lochs, and towns abundant with beautiful older houses that fit in with the surrounding landscape perfectly. We saw many different autumnal flowers and plants as well as farmland rich with sheep and Highland cows.
How Visiting Scotland Inspired My Last Collection
My latest completed series was inspired by a trip I took to Scotland and all of the breathtaking places I saw when I was there.